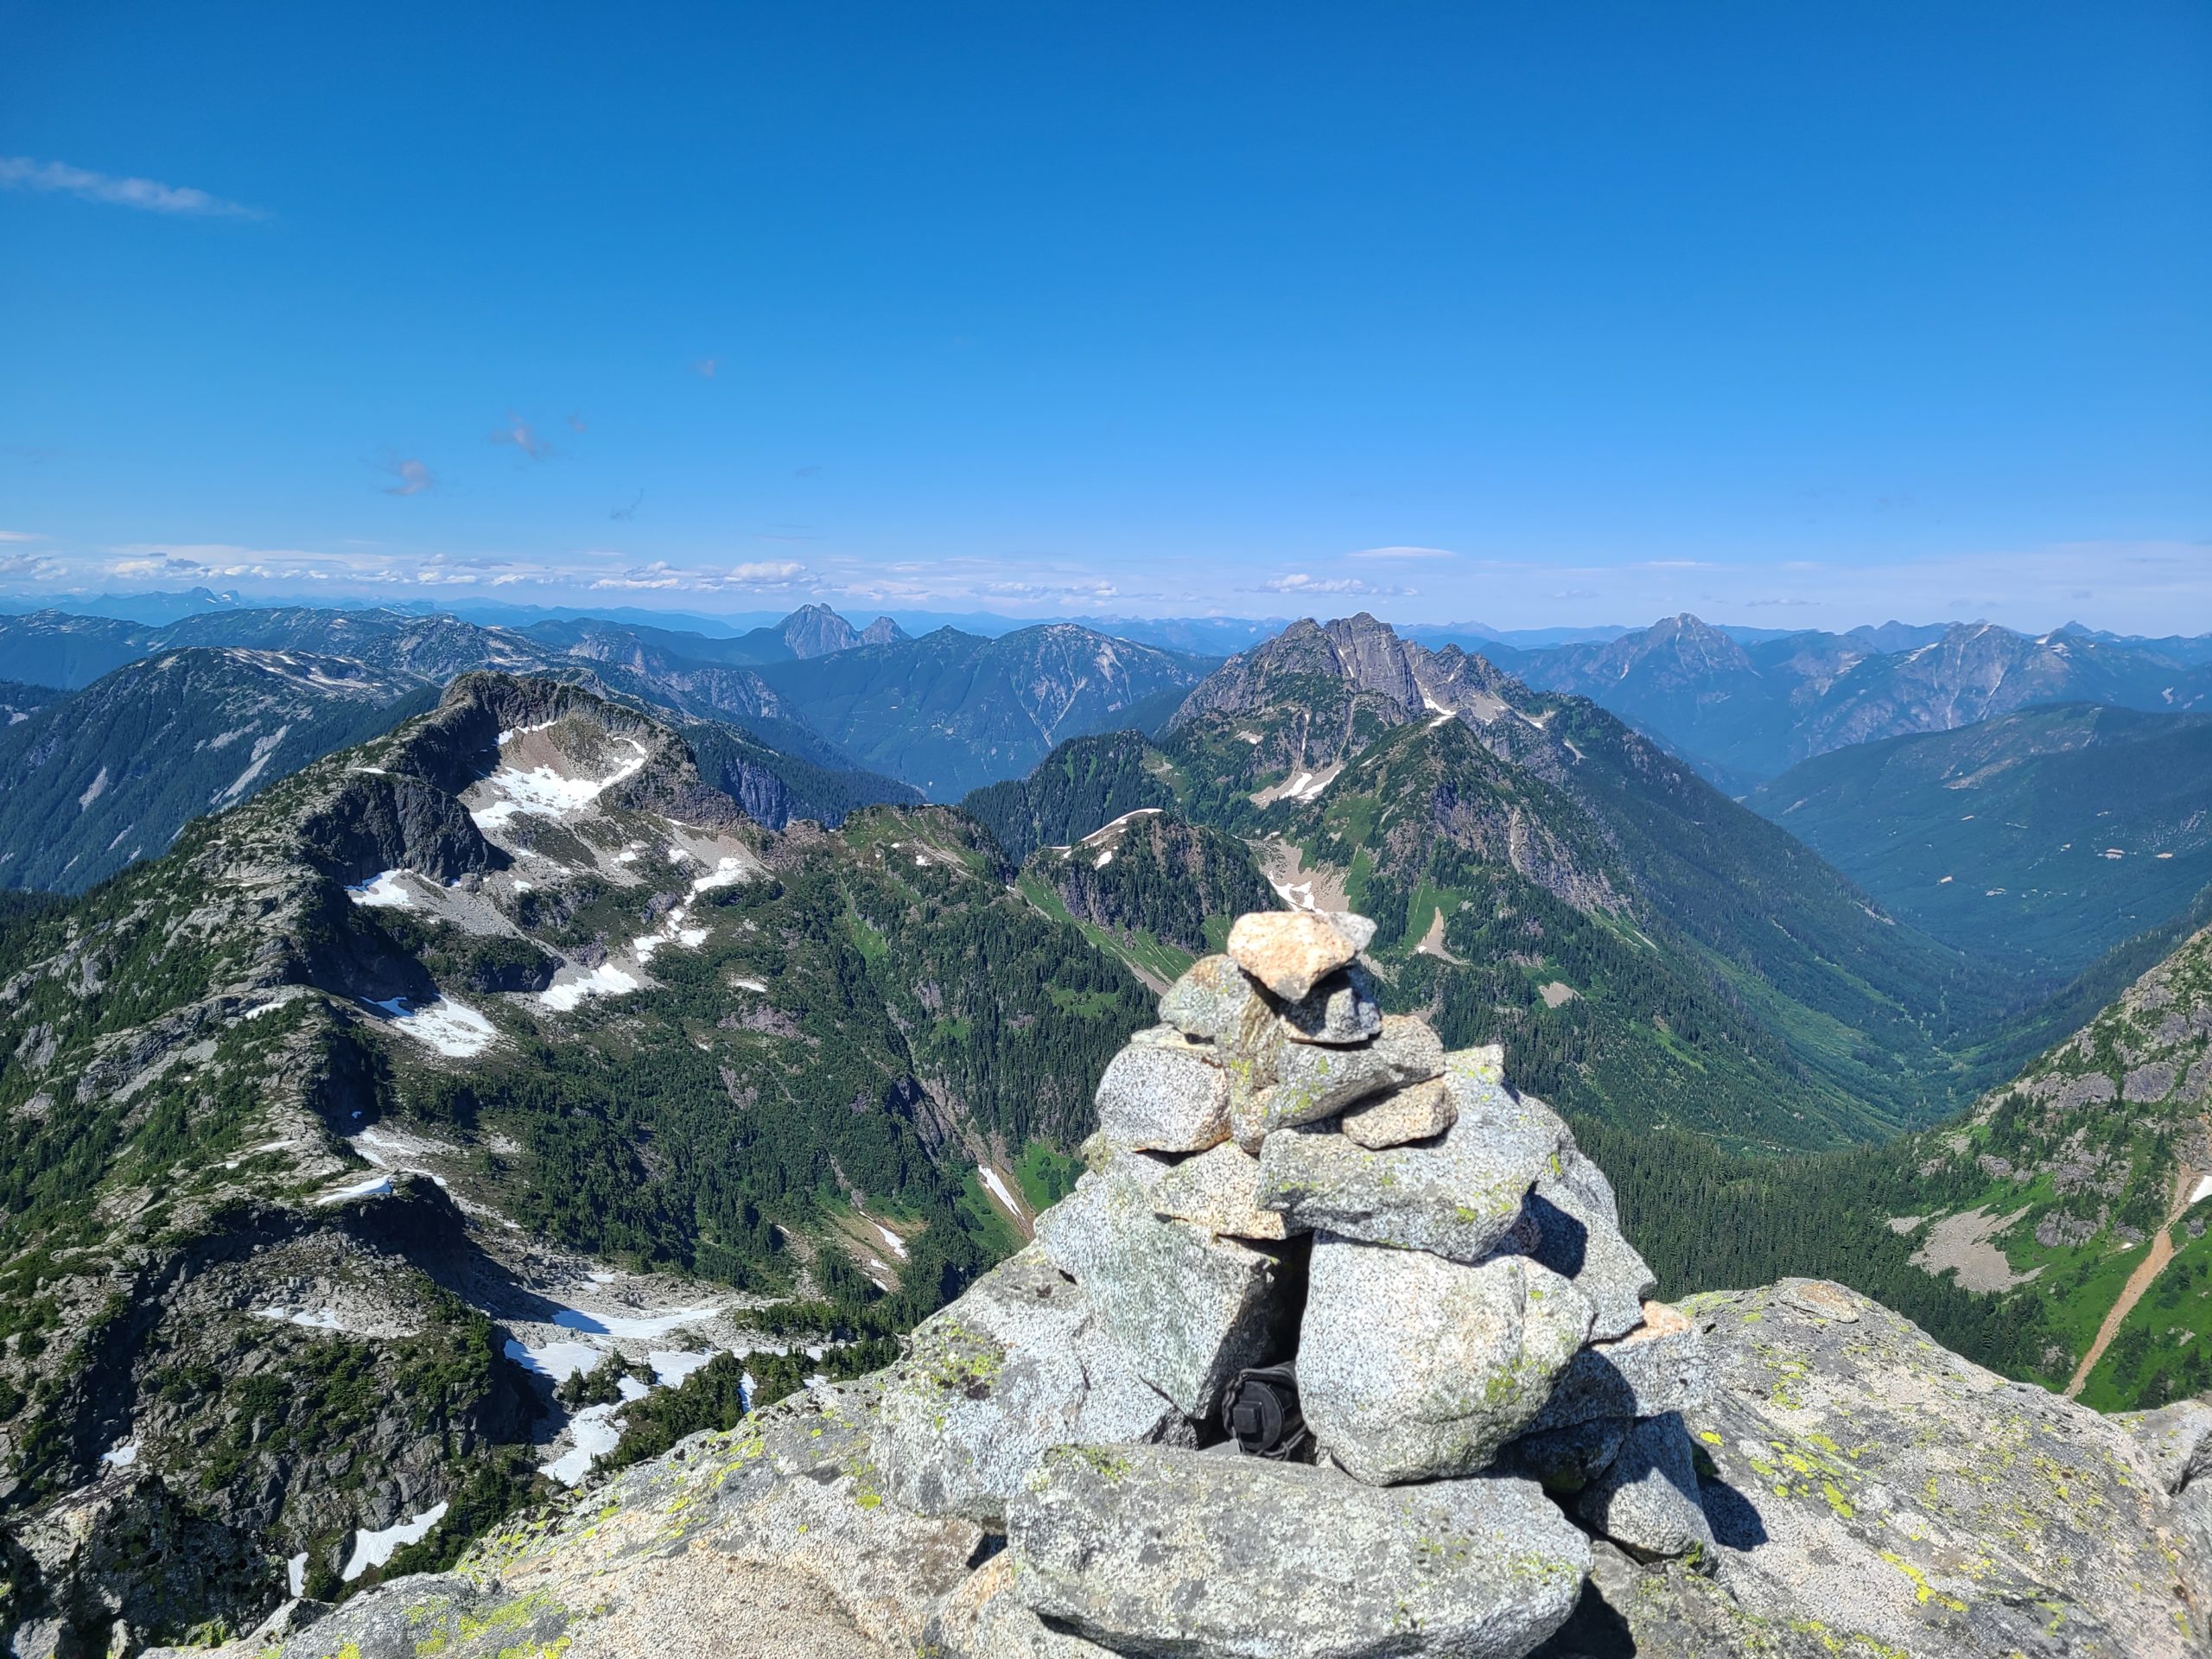
Other Scrambles to do in 2024
A few years back I wrote a post ranking the 103 Hikes and Gunn’s scrambles, and promised to write up a ranking of some of the other scrambles in Southwest BC that aren’t in those books. 3 years later, I finally get around to writing that post. The criteria for this list are that I’ve done the trip since 2010, aren’t in the scrambles guidebook, require some off trail travel or scrambling, don’t require any use of ropes for ascent or descent by a typical scrambler (i.e. no trips like Blanshard Needle where most people will want a rope for climbing and descending at least one pitch), and I have to have liked the trip enough to recommend that you go there!
So, without further ado…
- Mt. Lindeman (Moderate)
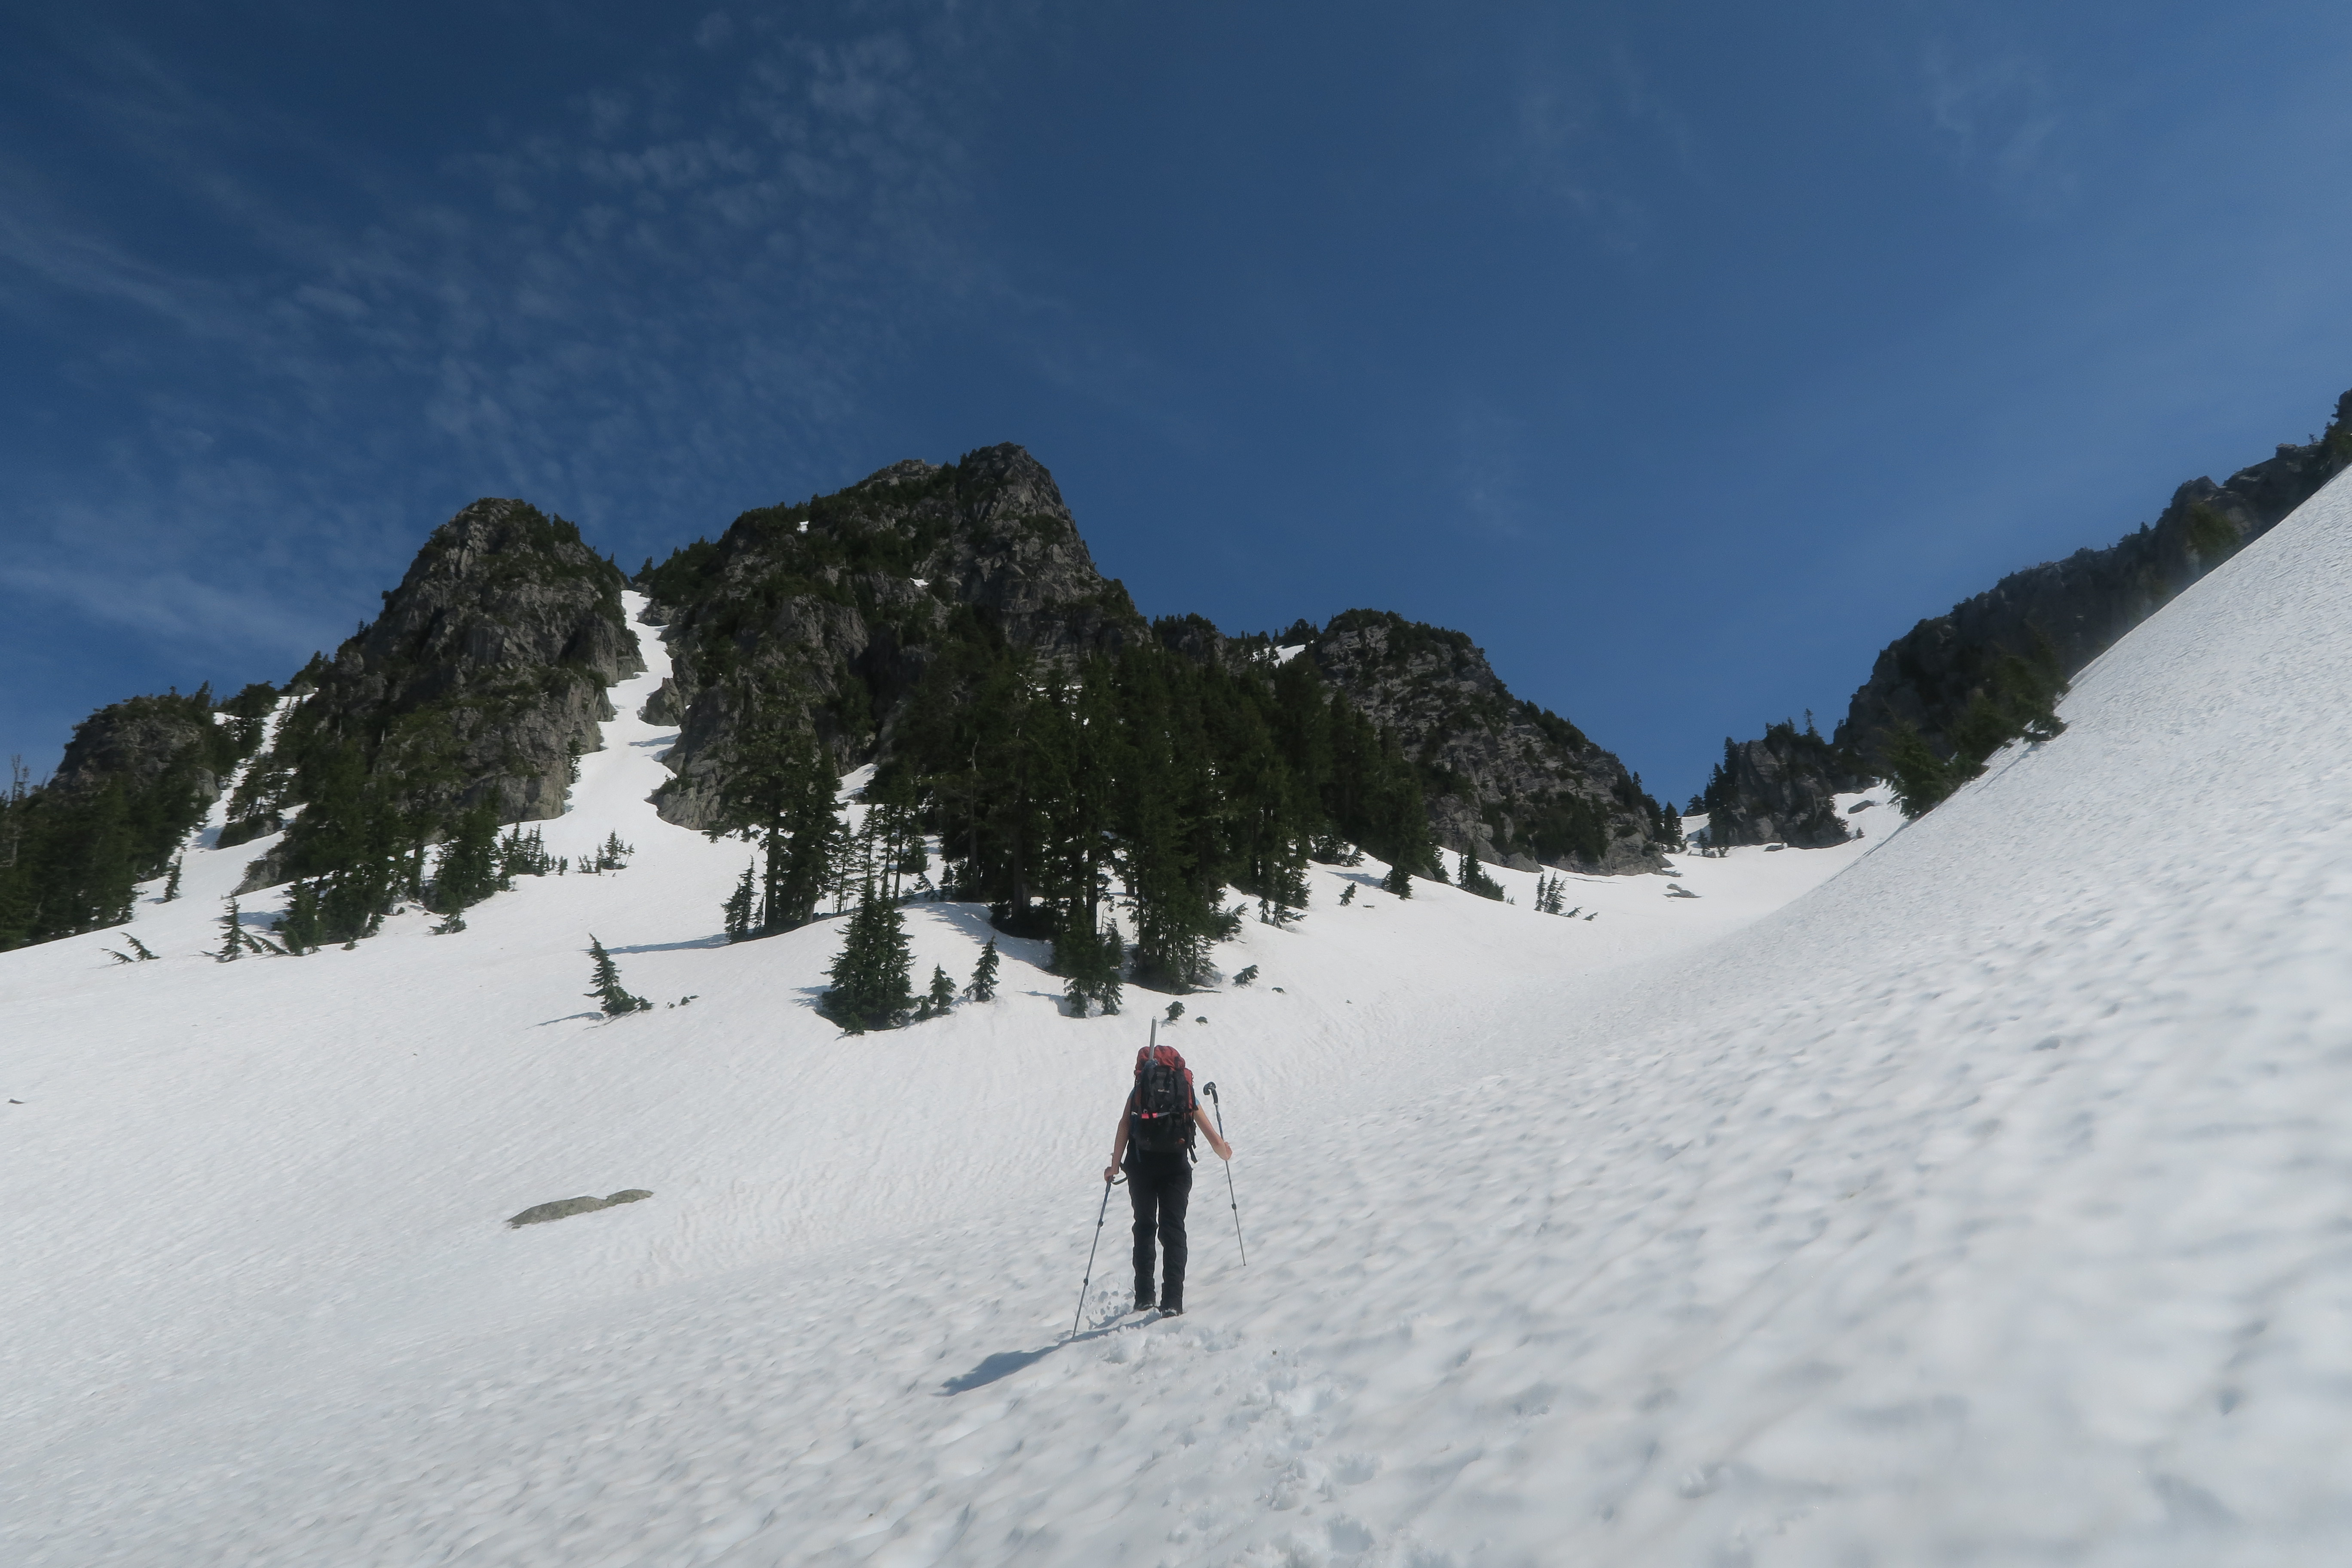
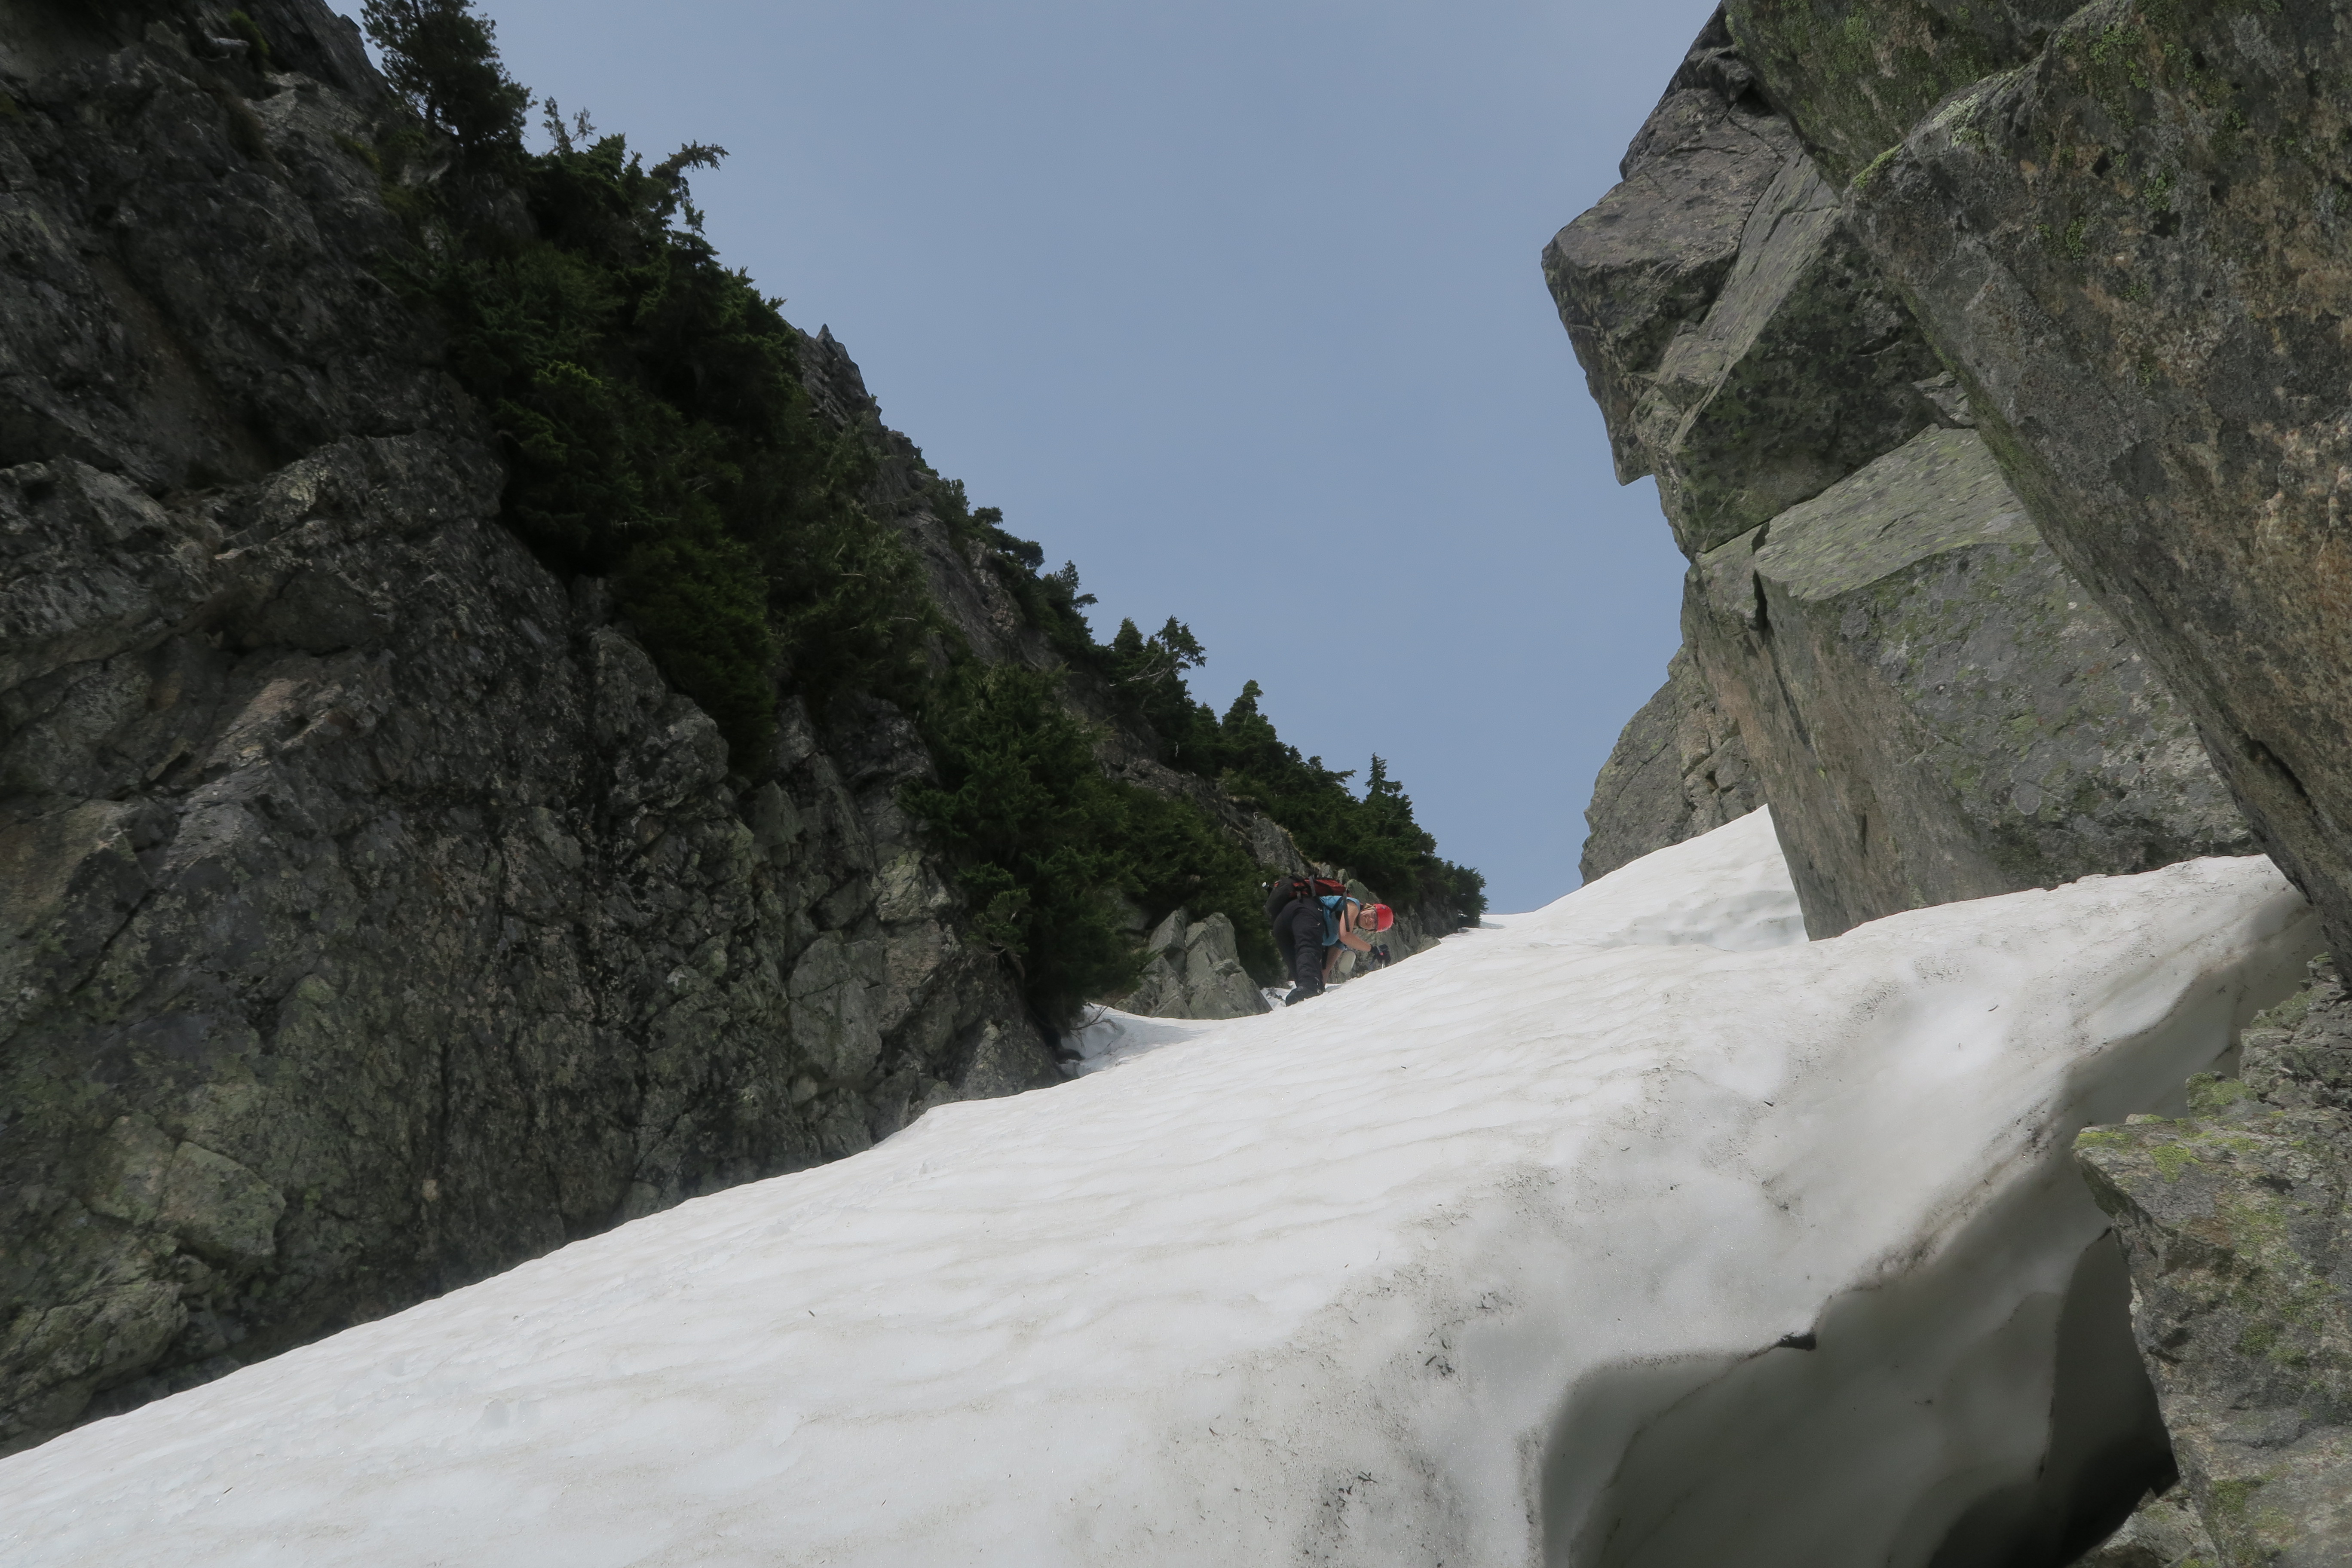
Lindeman is one of my favourite moderate scrambles in BC as it has a bit of everything. A walk down a deactivated logging road, steep hiking through trees, wandering through meadows and scrub near treeline, a. gully ascent, some snow travel, and some straightforward scrambling near top, with amazing views all around, with Mt. Rexford on one side, Macdonald to the north, and the huge drop down to Chilliwack Lake on the east. - Coquihalla Mountain (Easy)
Illal Meadows is one of my favourite camping destinations, and is a great way to turn an ascent of Coquihalla mountain into a relaxed weekend adventure. While you’re there though, it takes only a couple hours from the meadows to swing around the east side of Coquihalla towards the south and then up to the aesthetic summit. It’s also possible to ascend as a difficult scramble from the col just to the northeast of the summit.
- Side Trip: Jim Kelly Peak (Moderate)
Right above Illal meadows is Jim Kelly peak, which takes only ~30 minutes to ascend from the base. Might as well do it while you’re in the area for a fun extra little jaunt! Illal Mountain and Spider Peak are also possible to ascend from the meadows but have little to offer for the scrambler other than a minor sense of completeness.
- Side Trip: Jim Kelly Peak (Moderate)
- Mountain Lake Peaks
For how close the mountain lake area is to Vancouver, it’s amazing how little love it gets. The obvious reason is the gate blocking the road right at highway 99, but even in the years before the gate was installed, I think I only once ever encountered another person in the area while up there. The BCMC has a key, so put a trip on their schedule and get yourself up there! The Wind Lake trail gets you up to Mountain Lake in only a couple hours from the end of the road and is usually in a reasonable state of repair, though I’ve done trimming with hand shears the last couple times I was up there. There are lots of peaks in the area, and it is the standard approach to Ledge Mountain (I’ve never made it up, always hit bad weather on attempts) and Ledgeling, as well as a route to Sky Pilot, but two mountains stand out as excellent scrambling in the area.
- Mt. Sheer (Difficult)
The obvious horn right above Mountain Lake. Head direct up the SW ridge from Mountain Lake, for a really fun exposed class 3 on great rock. It looks harder than it is. Just below the summit there’s a short class 4 step without much exposure. On the way down, it’s possible to avoid downclimbing the lower half of the SW ridge by descending the obvious heather gully and connecting to the ridge at its base. - Ben Lomond (Moderate)
A very fun adventurous moderate scramble, especially as a Fall trip when days are short. Leave the Wind Lake trail shortly before reaching the lake to go up over Ben More, down the obvious slopes towards Ben Lomond, up a short tricky dirty step to connect to the main talus slopes below Ben Lomond and then work your way up to the west ridge following the most obvious line. On the way back, it’s possible to descend to the pond below Ben Lomond and Red Mountain and then up and through the col between Ben More and Ben Lui to reach Wind Lake and start down the trail back to your car.
- Mt. Sheer (Difficult)
- Watersprite Area Peaks
Back in 2013, Brittany & I helped Dave Scanlon construct the first proper trail and bridges into the Watersprite area, and it’s amazing how popular the area has become the years since my dad (Ed) & his gang of BCMC’ers built their hut. From a base at the lake, there are two trips to recommend to the coastal scrambler.
- Watersprite / Gibson / Martin Traverse (Moderate)
While Watersprite Tower itself is low 5th with high exposure, it’s possible to scramble up the gully immediately south of the tower onto the ridge that connects Watersprite to Gibson and Martin peaks. From the ridge just shy of Watersprite Tower, it’s possible to traverse over Gibson and all the way over to Martin for a great day of mostly easy scrambling with a few moderate steps. Highly recommended! - Dreadnought Peak (Moderate)
The second scramble of note in the area is Dreadnought Peak. It’s possible to ascend the ridge from the Dreadnought / Watersprite col directly (difficult in places), or to head up the obvious gully just to the west of the col, which other than being loose and a bit unpleasant for the last few minutes near the top isn’t particularly difficult. The summit has a really neat near vertical groove in it to the north that is used occasionally as an alpine ice route just outside Squamish!
- Watersprite / Gibson / Martin Traverse (Moderate)
- Linus Mountain (Moderate)
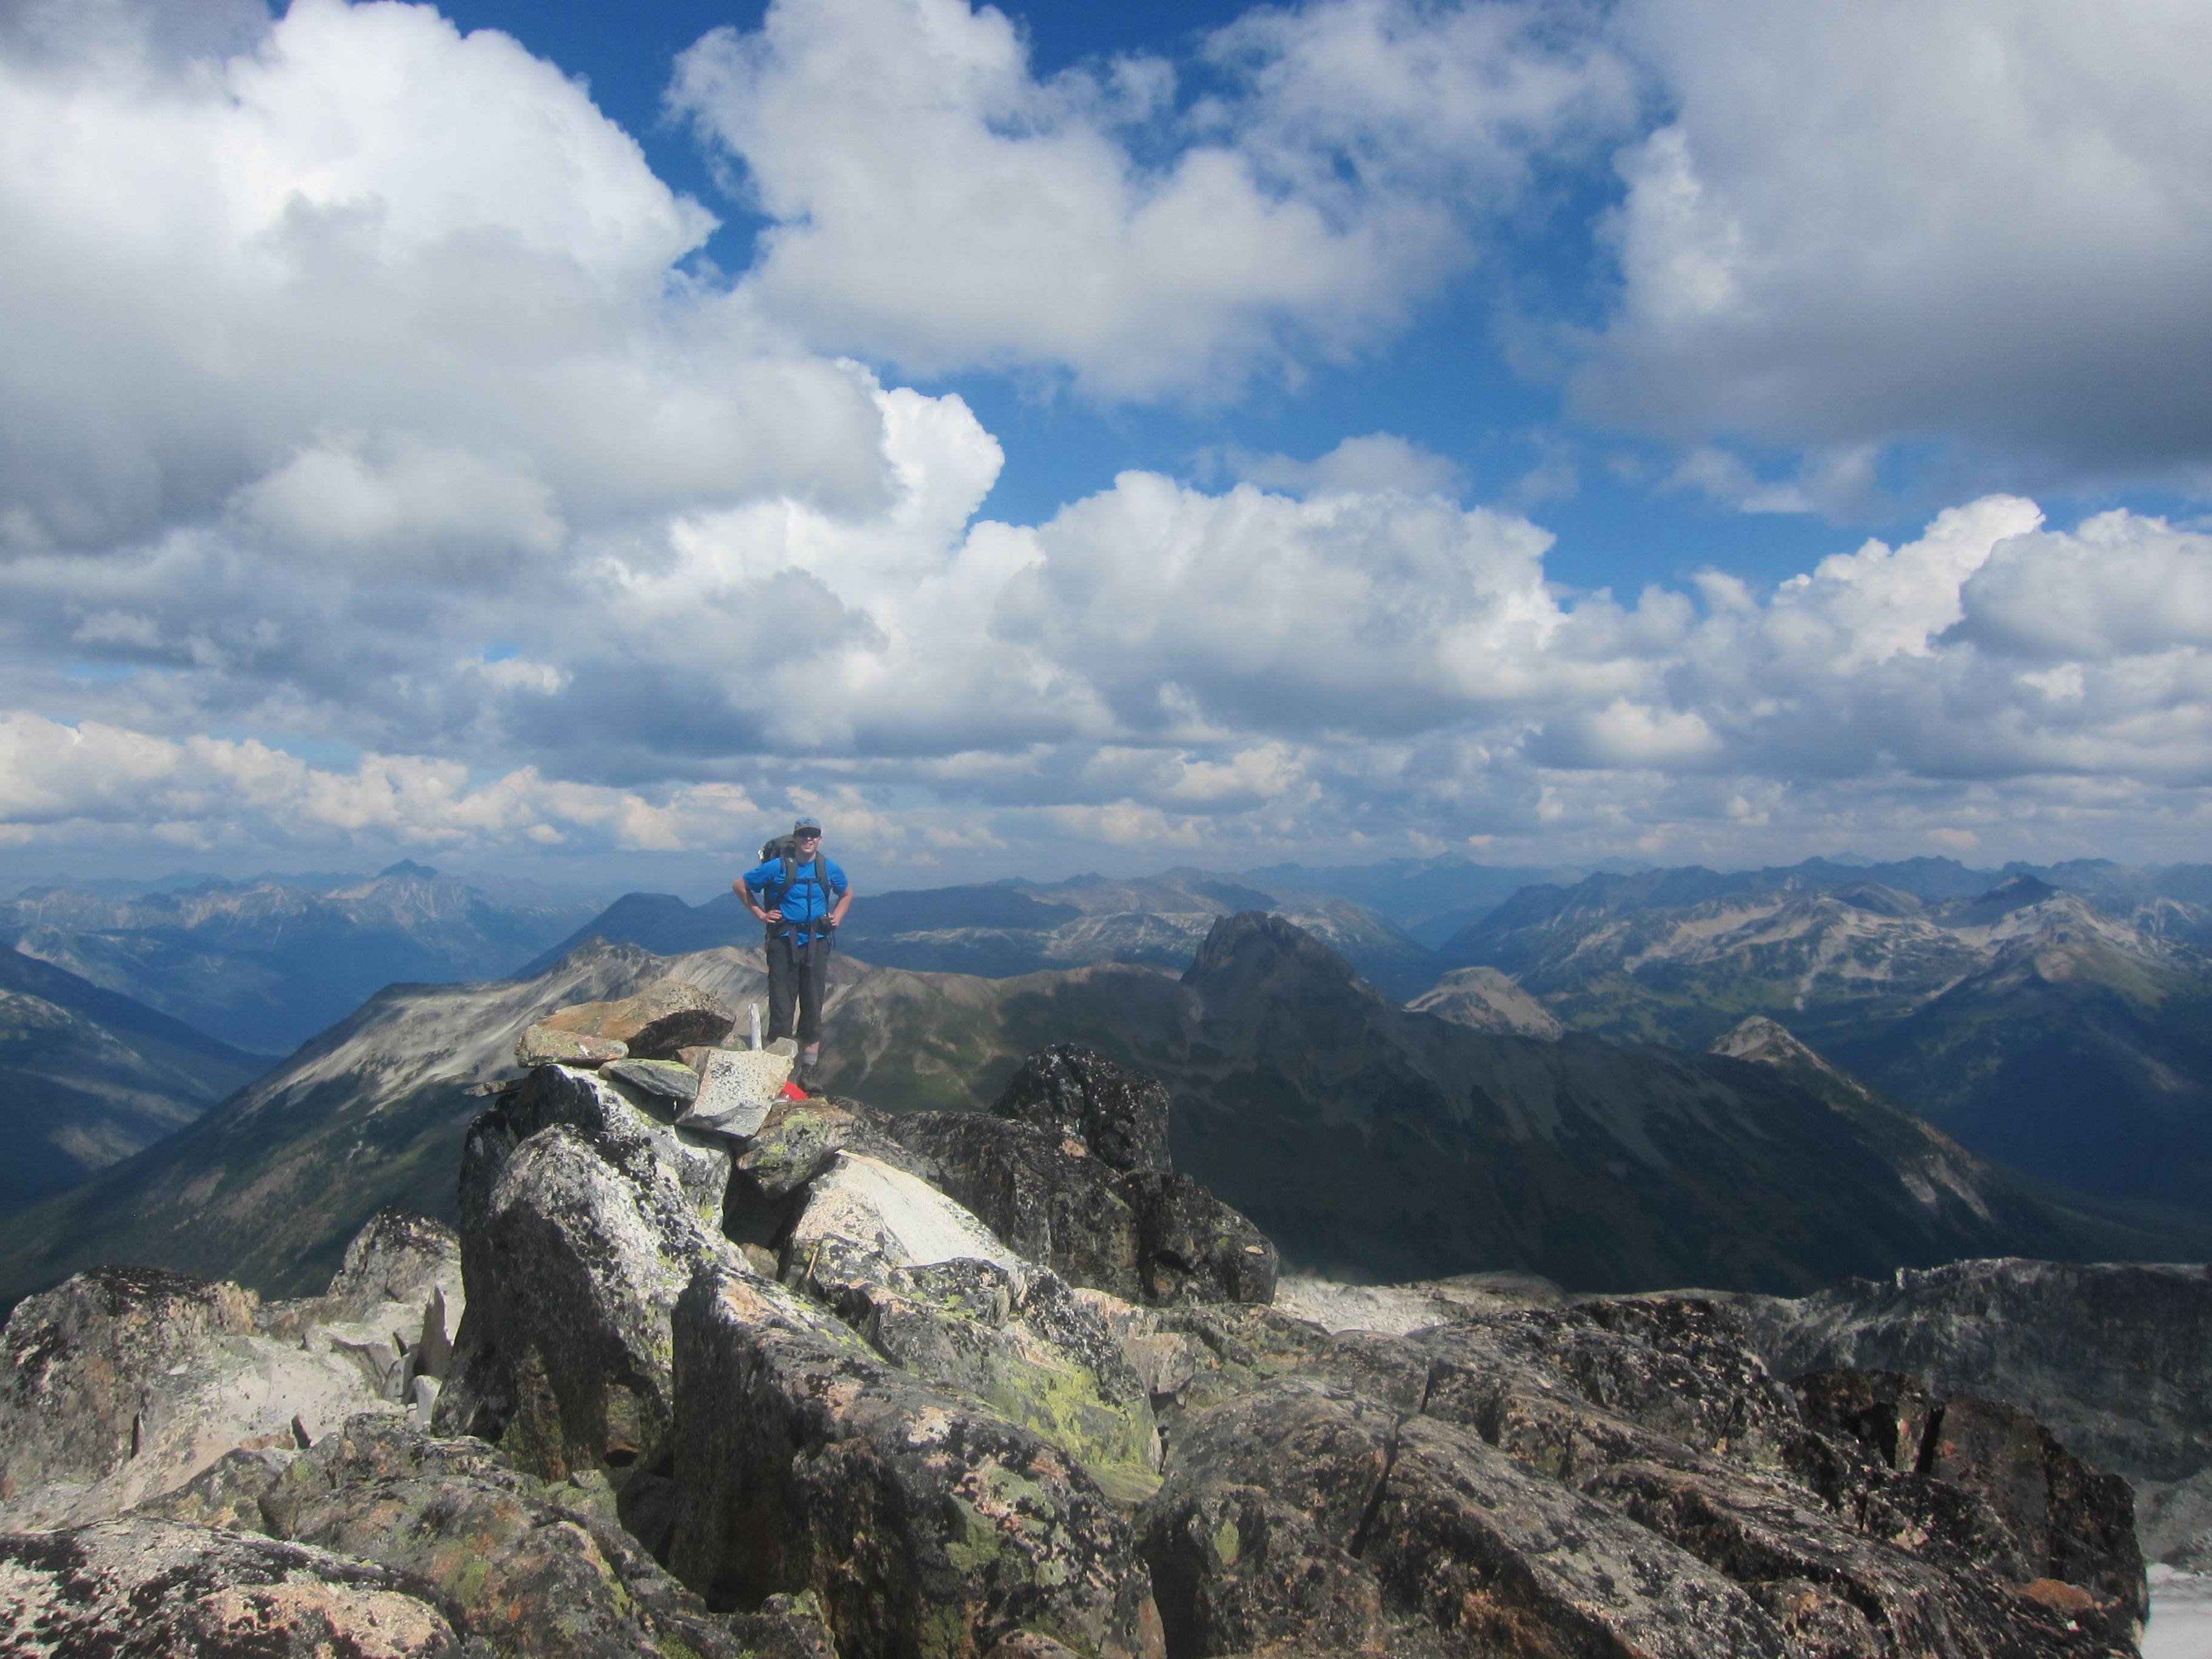
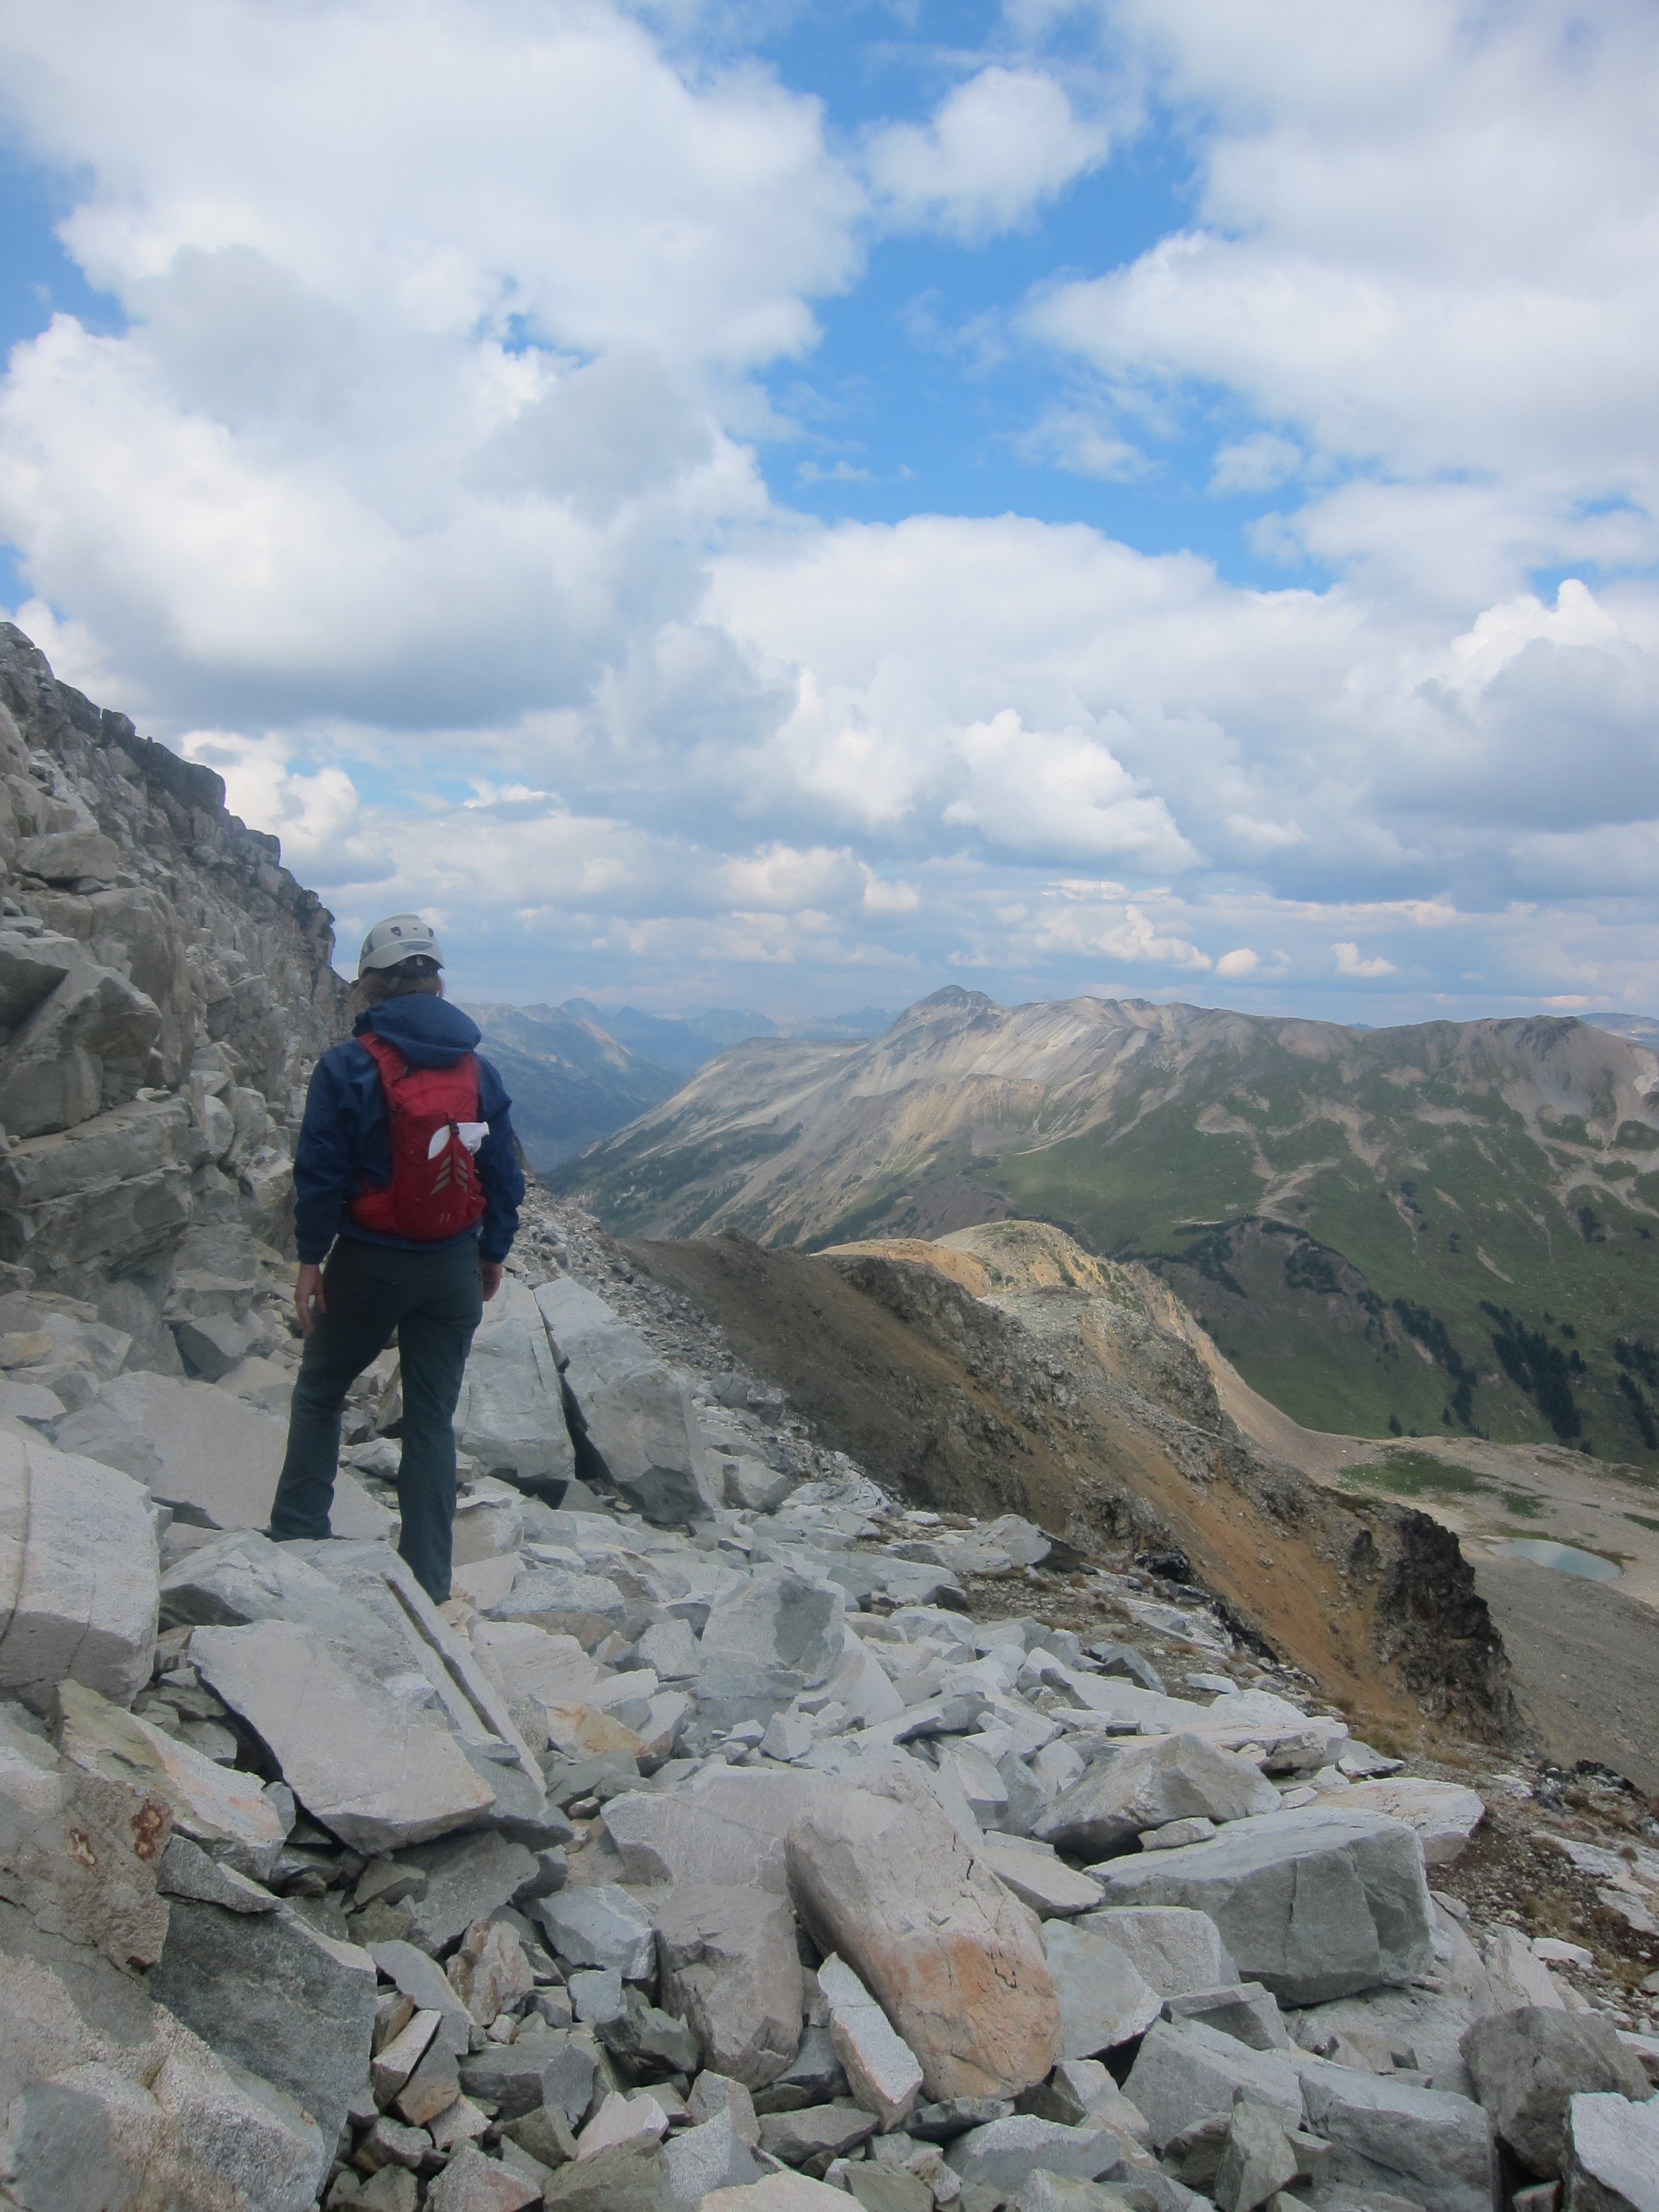
Statimcets is the “Downton Creek” peak in the old Scrambles book, and as the book says, there are many other great scrambles in the area. The one worth calling out as particularly nice is Linus peak, which can be done as a moderate scramble with occasional mild exposure on the ridge. Ascend from the meadows to the col between Linus and Schroeder peak (i.e. col to the S of Linus), and follow the ridge up to the summit, never beyond moderate difficulty though with some mild exposure in places. It’s possible to return the way you came or to continue on to Statimcets for a longer day. The upper meadows in Downton creek are without a doubt among my favourite camping destination in SW BC. - Seed Peak & Mt. Gillespie (Easy / Moderate)
Difficult to access for many years, the road leading up to Seed Peak was rebuilt in 2019/2020 for logging and is now in great condition. When I went in in early June 2020, the old trail was overgrown and in disrepair, and we did some work to replace flagging and do some trimming. A few months later there was a clear footbed once again and a proper trail, just showing how important it is to keep foot traffic going to these amazing areas. Seed Peak is really just a beautiful hike into the alpine, but Mt. Gillespie can also be added on for a longer day by descending to the lake and working your way onto Mt. Gillespie’s northwest ridge. - Crown Mountain via Crater Slabs (Difficult, Exposure)
One of my favourite local scrambles in the fall when the days are short. The recommended circuit is to head up the Hanes Valley trail, branch off to the right just before the trail starts ascending to Crown pass and instead head up into the canyon draining the slabs below Crown Mountain. The canyon has a few interesting class 3 steps, and at the end of the canyon there’s a short class 4 step to get onto the main couloir slabs. From this point, there is fun moderate scrambling all the way up to intersecting the trail just below the summit. Be careful to frequently look up and choose the route as going a few metres left or right can make a big difference in terms of difficulty. Once you’ve reached the summit, follow the standard trail back to Grouse mountain and skyride down to save your knees! It is possible to traverse to the right and leave the main couloir and head straight to the summit, but this increases the difficulty a fair bit and I wouldn’t recommend doing so.
The one big problem with this route is the high objective hazard from other hikers above who can rock knocks down, so going midweek is strongly recommended. - Conway Peak (Easy)
The southernmost peak in the Cheam group. It’s essentially just a pleasant hike with a bit of routefinding needed once reaching the alpine, but very worth it for the views of the backside of Foley, Welch, as well as the peaks across the border to the south. - Needles Traverse (North Shore) (Moderate)
More interesting trips still covered in snow? Why not ascend some of the north shore’s lower summits! Hike the Norvan falls trail, and head up the Coliseum trail from the falls. Once you reach the first open area, you can ascend direct up a talus field onto the ridge to the north of the North Needle, and from here all three needles can be traversed easily, with just a few moderate scrambling steps. From the south needle there’s a well established trail that can be followed back to Lynn peak and down to where you started, or alternatively it’s possible to turn off and head down the Hydraulic creek trail to the Lower Seymour conservation reserve. - Sigurd Peak (Easy)
Off the same trail as leads to Ossa is the Sigurd Peak trail. In a sense it’s great bang for your buck. Park and go up! It’s over 1800m elevation gain from where you leave your car to the summit, but the trail is in great shape, as are the views. Just think of it as doing two grouse grinds, with a better view. - Mt. Bishop, Deacon, and Presbetyr (Easy / Moderate)
A fantastic bike & hike right near town, but with… elevation! Bike up to the Seymour dam, find the start of the Vicar Lakes trail, and start going up. And up. And up. Really, there’s a lot of up. This is probably the steepest trail near Vancouver, with plenty of roots, and ropes. Above Vicar lakes follow the marked route up to treeline and then cross the talus field to the south to find the easiest way up Mt. Bishop.
Deacon (Jarrett) & Presbetyr peaks can be added on to make for a three-fer day while you’re up there. In the Spring, ice-axe and comfort on somewhat exposed snow to 45 degrees is necessary to descend to the slopes below Deacon from the Bishop trail, making it into an easy mountaineering expedition, but I’ve been told this is an easy heather / talus slope to descend once the snow melts. - Snass Mountain (Moderate)
A popular route in Manning Park is the so-called “Punch Bowl” loop, ascending the Whatcom trail past the flowering meadows of the Punch Bowl, and returning via the Dewdney trail. This loop is a worthwhile hike on its own, either as a day trip or an overnighter, but as a scrambler, you’ll want more. In order to get more, ascend the west ridge of Snass from - Bendor Range Peaks (Moderate)
The Bendor Range is occasionally easy to access, depending on the current quality of the Truax Creek FSR. When it’s in good shape, it can be used to access a large number of peaks, of which I’ve only done a couple. There is great camping to be found near the small cluster of lakes just below 2000m a few km to the south east of the end of Truax Creek FSR, and from a camp here, it’s possible to climb Williams Peak (moderate), Mt. Bobb (easy), and Bendor Mountain (difficult, I didn’t attempt due to rain). On the other side of the valley other members of the camp I was involved in also climbed Truax and Fergusson, but I can’t vouch for them. That said, there are two easy day trips possible from these lakes, both involving full days of cross country alpine & sub-alpine travel.
- Williams Peak (Bendor Range)
Begin by heading north from the small lakes camp and ascending the peak labelled “Rush” on bivouac. From here I descended to the east to bypass “Wilmot” peak, ascending to the grey rock to reach the south ridge of Williams and beating by ~1 hour my companions who traversed over Wilmot. The south ridge of Williams is an interesting easy/moderate scramble that goes through a really neat corridor section just before the summit. - Mt. Bobb
From the small lakes camp, ascend snow or rocks to the col south of the lakes and make your way from lake to lake as you traverse cross-country towards Mt. Bobb. Mt. Bobb itself is a straightforward ascent over easy talus and heather, not much of a scramble but a full day XC adventure!
- Williams Peak (Bendor Range)
- Mt. Seymour via Scrambling routes (Moderate / Difficult)
If route quality is judged by how often I do it, this would clearly be #1. Where else can you find an almost infinite variety of scrambling lines within an hour of your car than on Mt. Seymour? There are so many lines possible up pump peak, and all sorts of interesting lines possible on the 3rd peak as well if you head to the right (east) of the main trail.
- Side Trip: Runner Peak (Moderate)
Have a bit too much energy but already reached the final peak of Mt. Seymour? Descend the Elsay Peak trail from between the second and third peaks of Seymour and from the low point, turn off the trail and head up the boulder gully to the north of Mt. Seymour. From the top of this gully, a quick moderate scramble up Runner Peak makes for an extra bit of fun on your day before your hustle back to your more relaxed companions.
- Side Trip: Runner Peak (Moderate)
- Deeks Peak (Easy)
For the final peak on this list, we have the least loved(?) peak on the east side of Howe Sound. My preferred route is the so called “bypass trail” that leaves the Deeks Lake trail early on, goes straight up the west ridge of Deeks (please bring shears! badly in need of a trim!), and then to traverse over the top and from the summit to follow the flagged route down towards the Deeks / Windsor col, down to Deeks Lake, and then all the way back to the car. I suppose people avoid this because the trail needs love, and there’s > 1500m elevation gain without much break, but with a bit more traffic this could once again be a local favourite.